Welcome to the Quick Start Guide
1. Pairing
Pair your PC with Aura
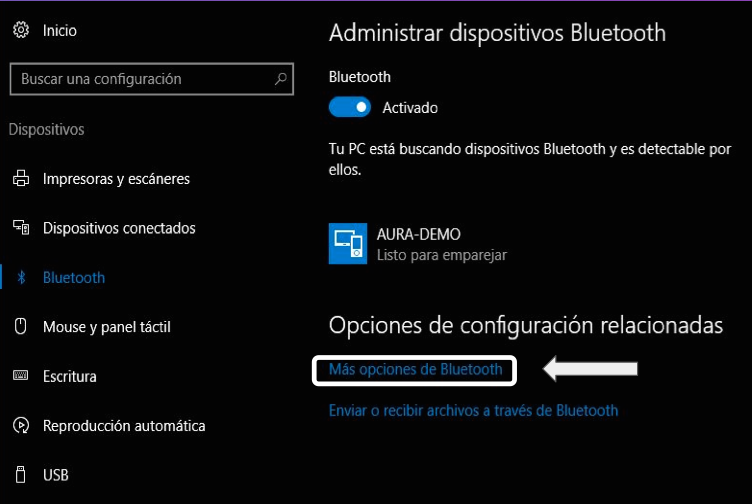
Press the Windows Key, and start typing “bluetooth” to search and open the Bluetooth Settings on your Windows 10
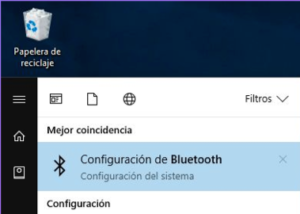
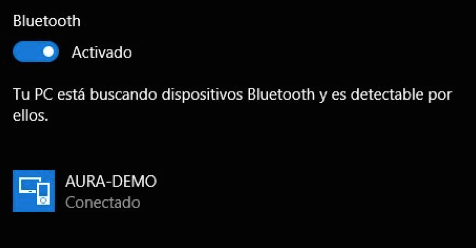
Activate Bluetooth and search for your Aura Device. If asked for the kind of device you want to add, choose Bluetooth. Once is found, click it and pair it.
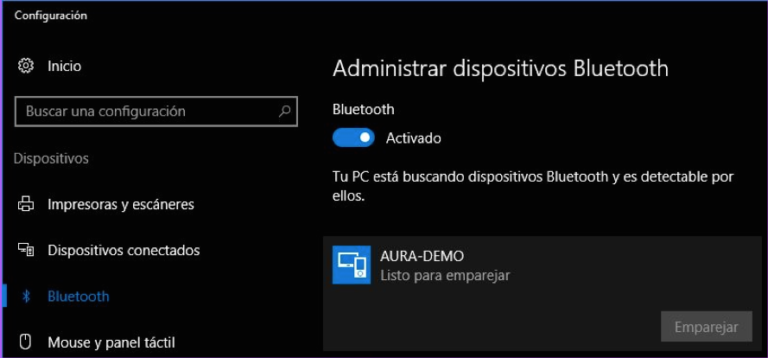
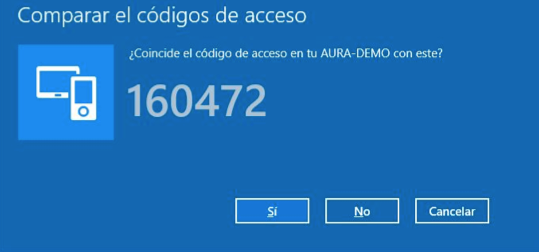
You will be asked for a confirmation code. Confirm it and your Aura is now paired.
2. Bluetooth COM
Identify the new Bluetooth COM Port
To identify which COM Port is using your new paired device, click on More Bluetooth Options.
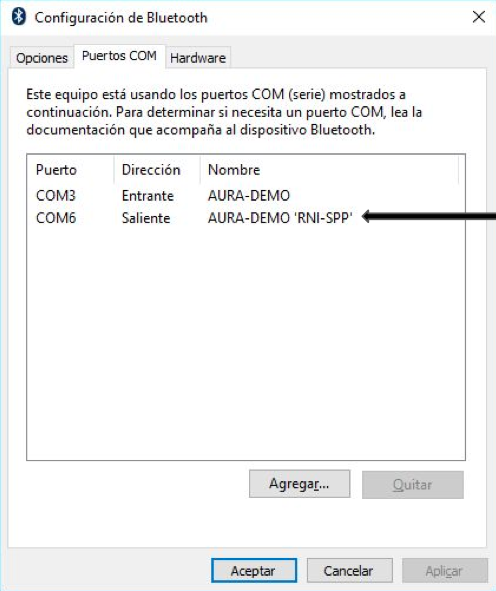
A new window should open, and in the COM Ports Tab, look for the one with the description “RNI-SPP”. For example, in this image, our COM will be COM6.
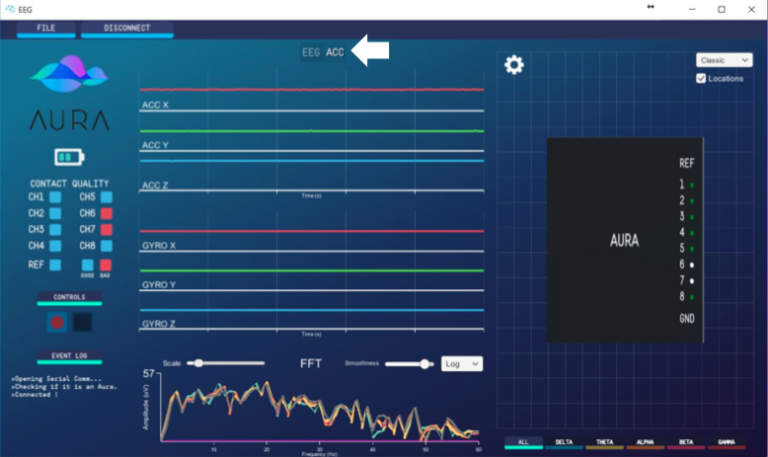
3. Live Connection
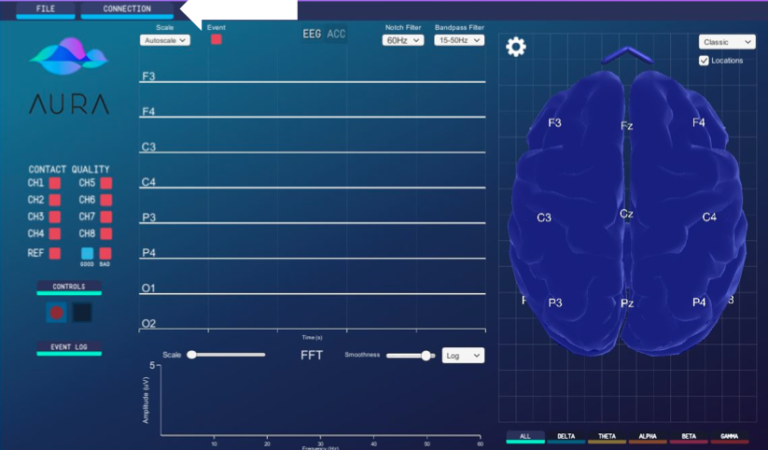
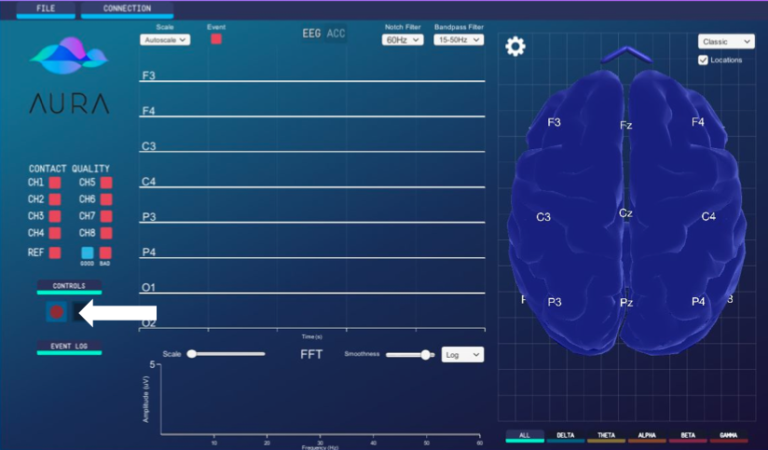
Connect to your Aura from the GUI
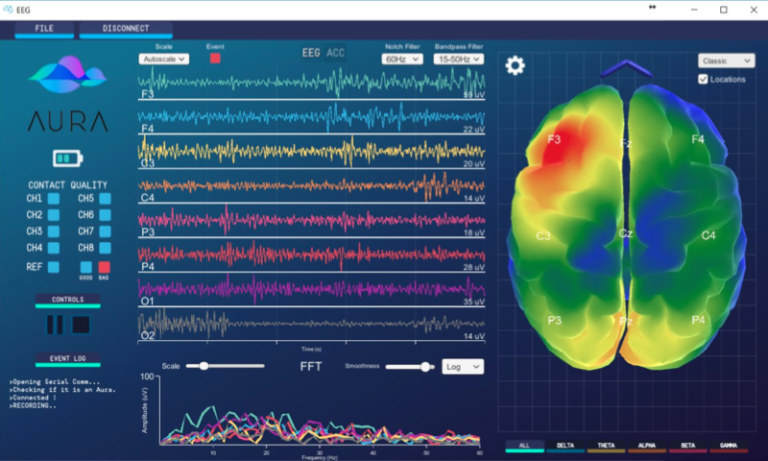
This will be your main panel. From here, you can start a live connection by clicking the Connection button.
IMPORTANT NOTE: Always run your program with Administrative Rights (to enable data recording).
Select the previously identified COM Port, and click Connect.
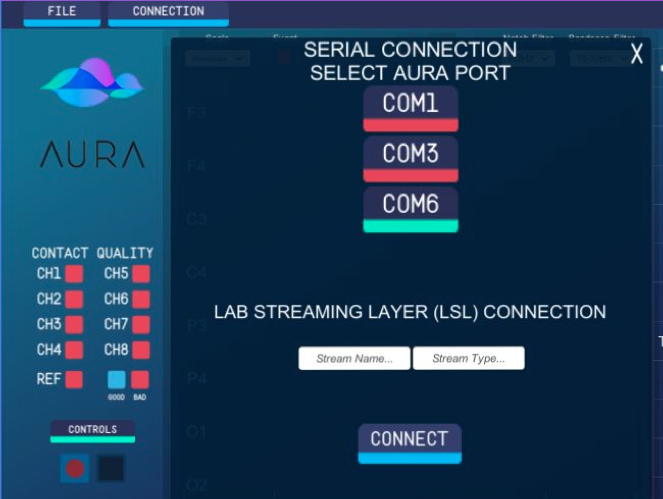
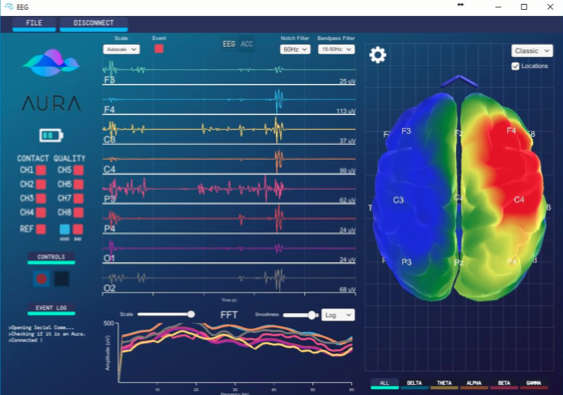
In a couple of seconds, you will start receiving live data.
4. Configuration
Configure your electrodes
You will need to make sure your electrodes are well connected and positioned. Click File -> Configure Electrodes, to open the configuration panel.
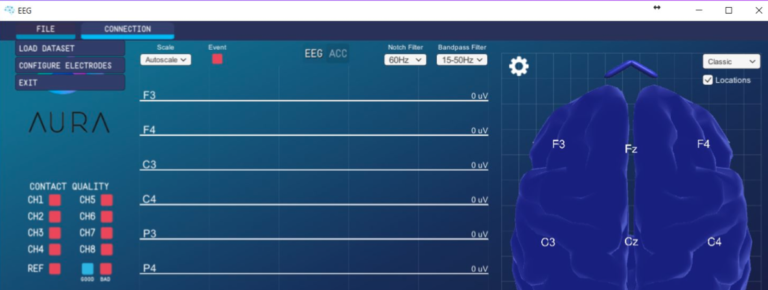
From here, you should move your electrode channel numbers to mirror your real Aura-headset configuration. You can then proceed to Save your positions, to load them for another time.
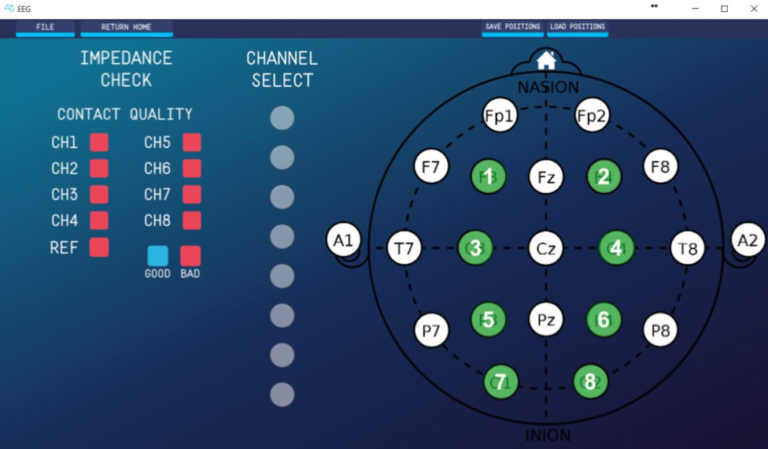
In real time, contact quality indicators will be turning “good” while adjusting the electrodes on the scalp. Red means that a poor contact is made between the scalp and the corresponding device channel number, so more conductive gel may be required, otherwise no data will be received on that channel. You can continue clicking File->Return Home.
5. Recording
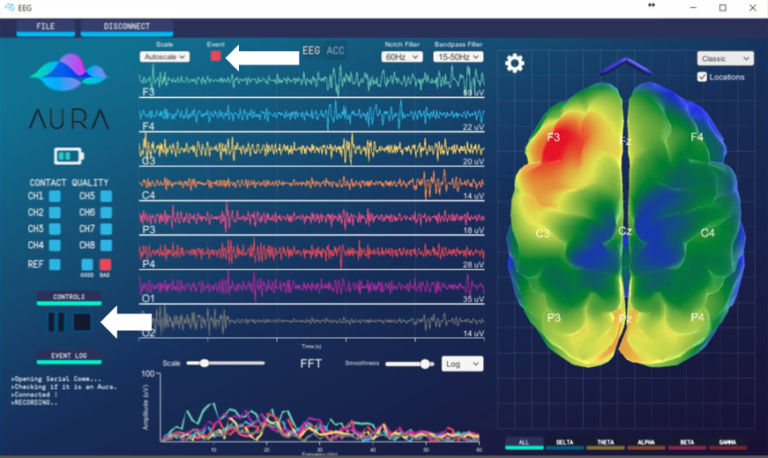
Start recording data
To start recording, just click on the Record button. IMPORTANT NOTE: Always run your program with Administrative Rights (to enable data recording)
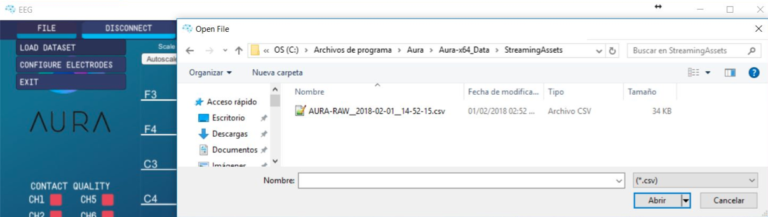
Now, a file is being generated inside your installation folder, usually “…Program Files/Aura” , under the subfolder “Aura-x64_Data/StreamingAssets/YourFile.csv”
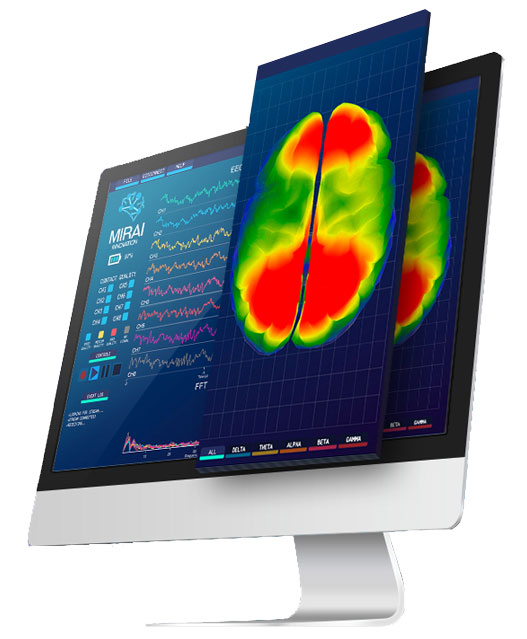
You can start playing with the 3D Brain model, scaling and filters of your graphs.
While recording, you can push the spacebar on your keyboard, to record an event in your CSV file for future reference that will be indicated with the Event light on the upper side of your main panel. To stop recording, simply click on the Stop button.
6. Playback
Load recorded data
To load a previously recorded CSV file, click on File-> Load Dataset.
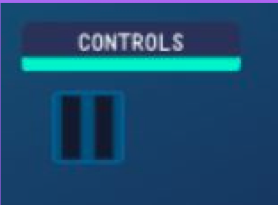
Controls are very simple, you can just simply pause or resume your recording.
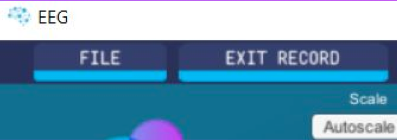
You can exit the recording by clicking the exit button.
7. Testing
Test your signals
Now everything is ready and set so you can proceed with your experiments.
Be sure to also test your Accelerometer signals under the ACC panel